How I Teach Weaving to Young Children
I think sometimes having more training in something can make it harder to teach to beginners. After studying fiber at the college-level the beginner mindset is just further away in my memory. I’ve had to really work at translating weaving for young students, and here are some things I’ve learned:
Start with paper weaving. I’m sometimes tempted to skip this step because weaving with yarn is already so time-consuming, but the review is necessary to reinforce that each row of plain weave is an opposite under/over pattern. Seeing the paper checkboard really helps. Pre-k to 2nd might even do an extended exploration with paper and not even move to yarn.
Use a whole-body mantra. I teach a rhyme with hand gestures, and it goes like this: “Under, over pattern / make a mountain / comb the hair.” This rhyme helps avoid that tight, tight pyramid shape that starts to form if students pull with too much tension. It reminds students to make that hill in the center to give the edges a little room to breathe.
Try a day or two of partner weaving. If you’re fortunate enough to have a set of wooden frame looms, like maybe a dozen, you can prep two narrow warps and have students work in pairs to practice together. I have 125 fourth graders so wooden looms aren’t practical when we move to individual work, but I keep them on hand for my self-contained / adapted kids to use for the rest of the unit.
Keep kids motivated with thick yarn and functional results. For some students, weaving is just not going to be their thing and this unit will be a slog. Thick yarn helps them see progress faster and keep going. I like to make a stretch goal like a finished bag or pouch to hold all those Pokémon cards. Something functional they can use at recess really excites them.

If you have time, including decorative techniques like rya knots can keep weaving lessons interesting. Having students draw and reflect on their work is also important.
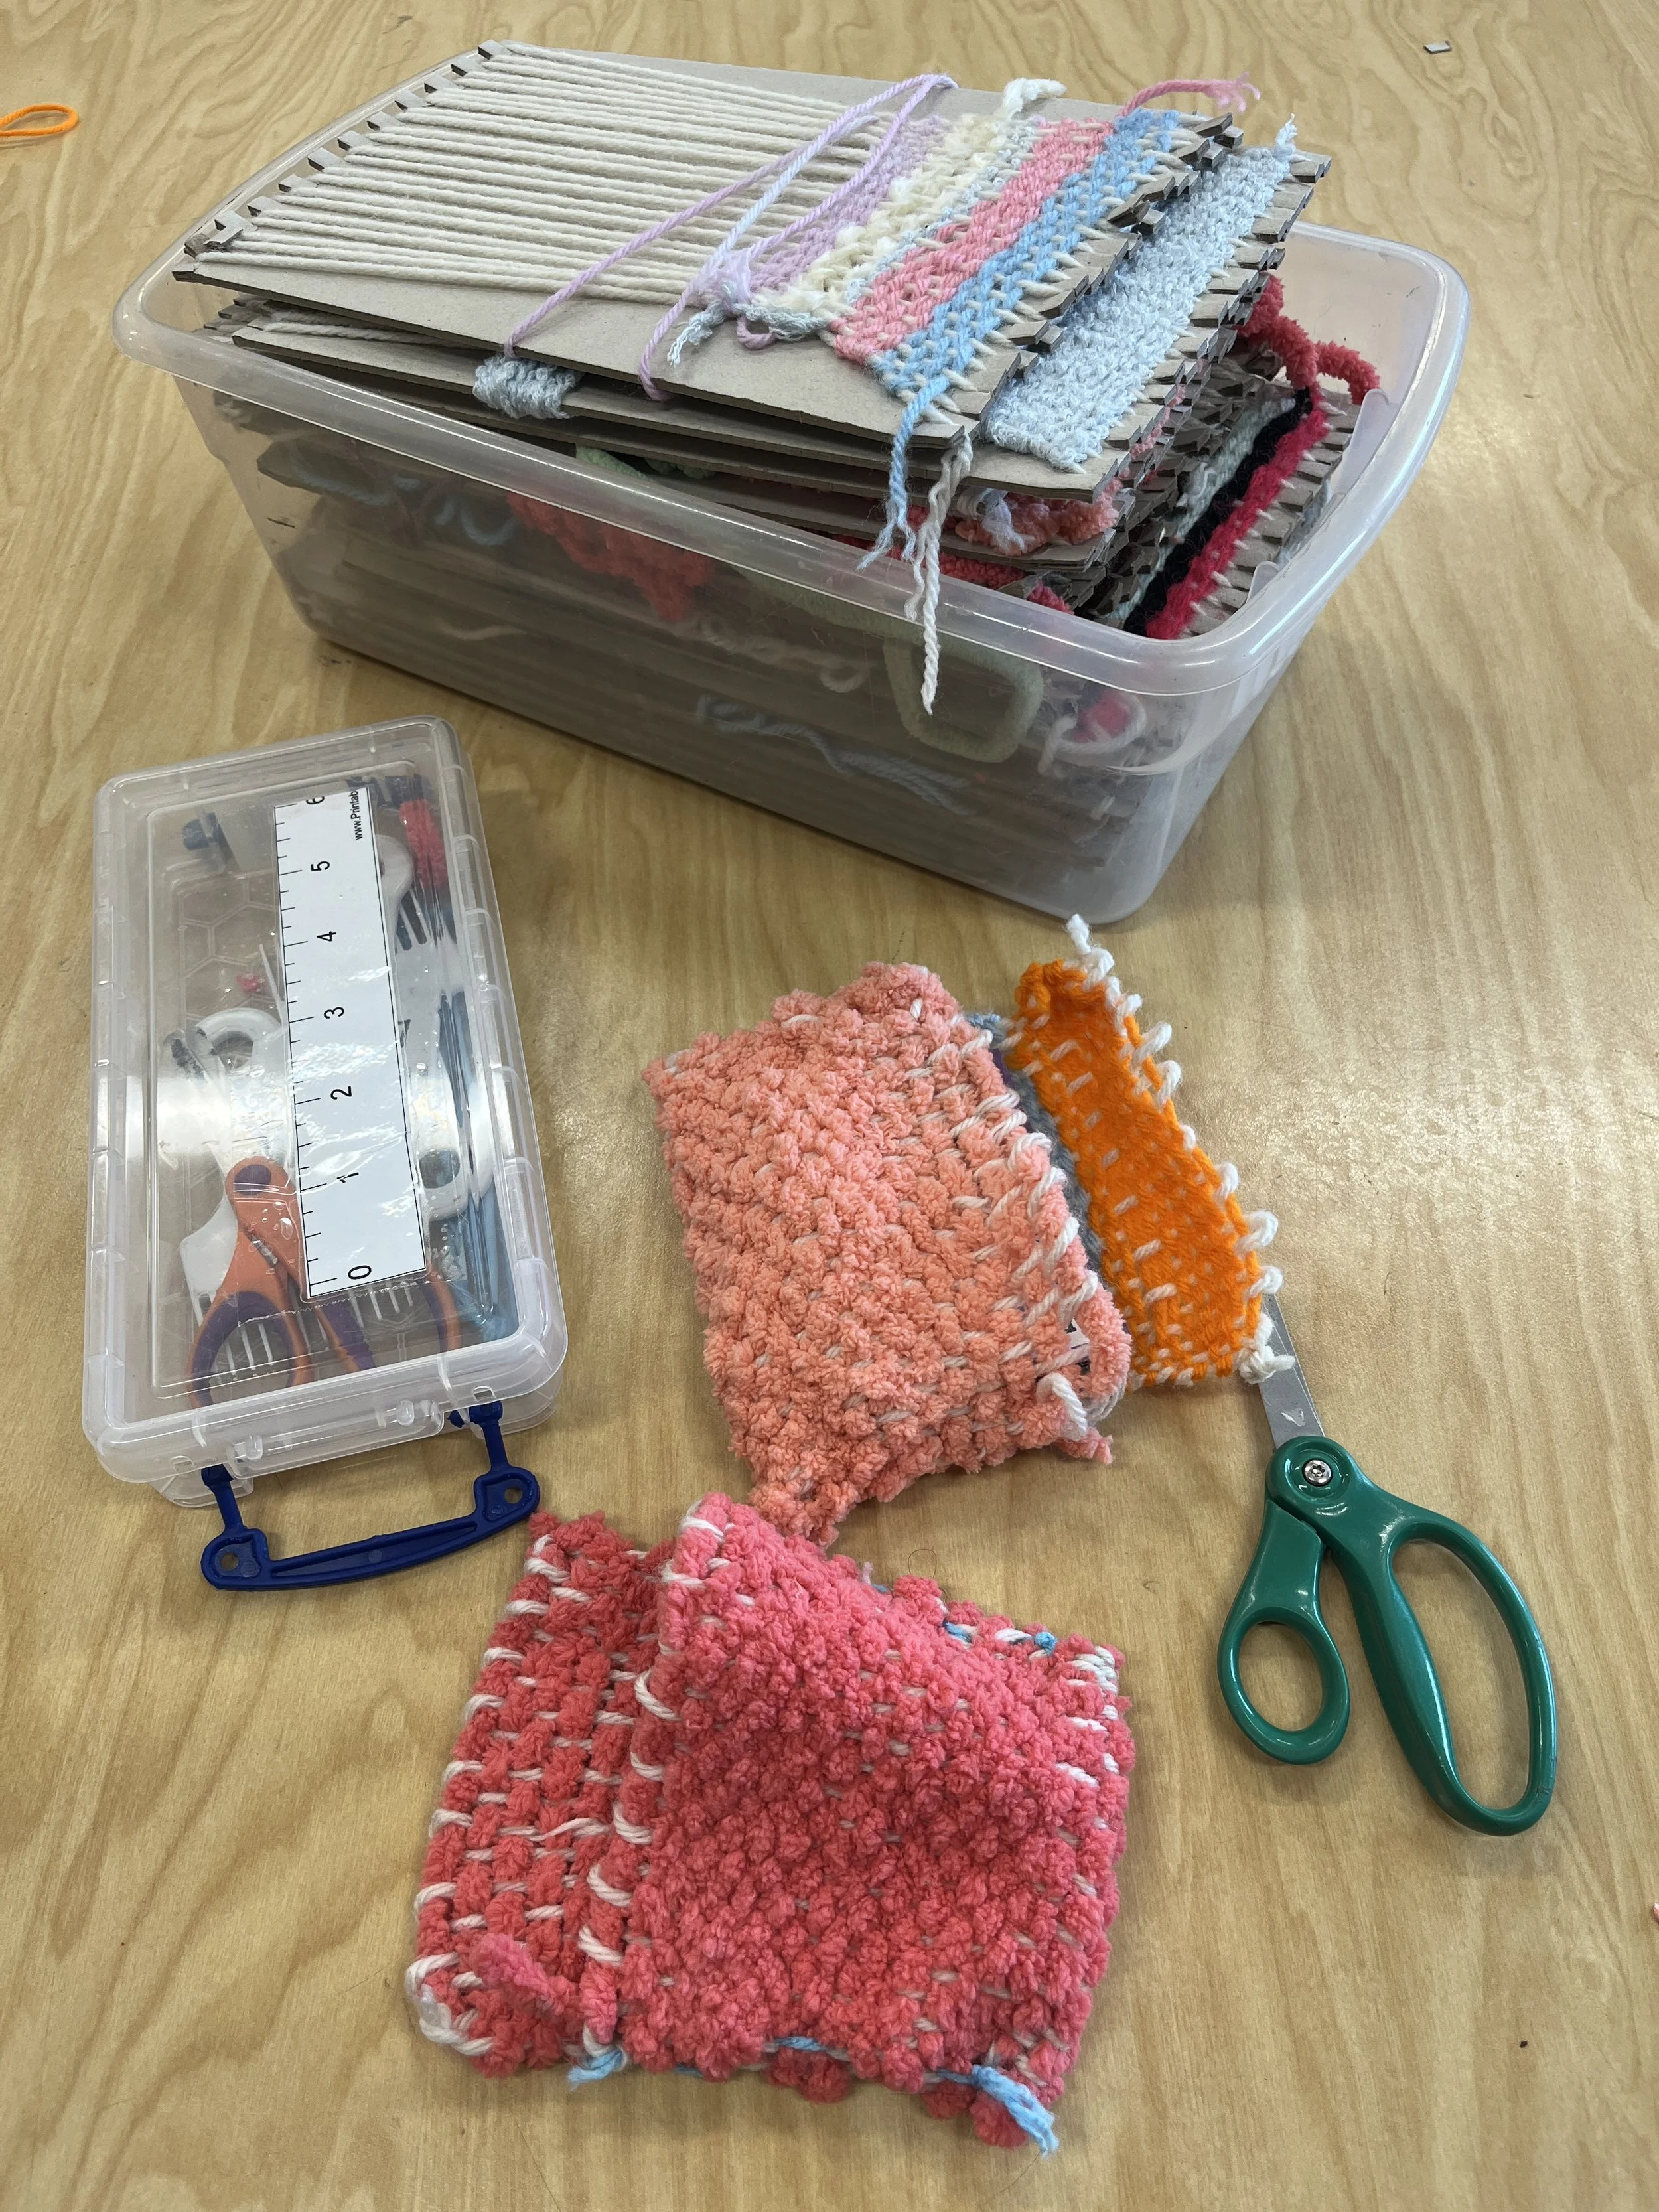
I keep cardboard looms for each of my five 4th grade classes in plastic bins. Here you can see the woven pouches of some early finishers. Every table gets a tool kit with 2 pairs of scissors, 4 combs, and 4 tapestry needles.
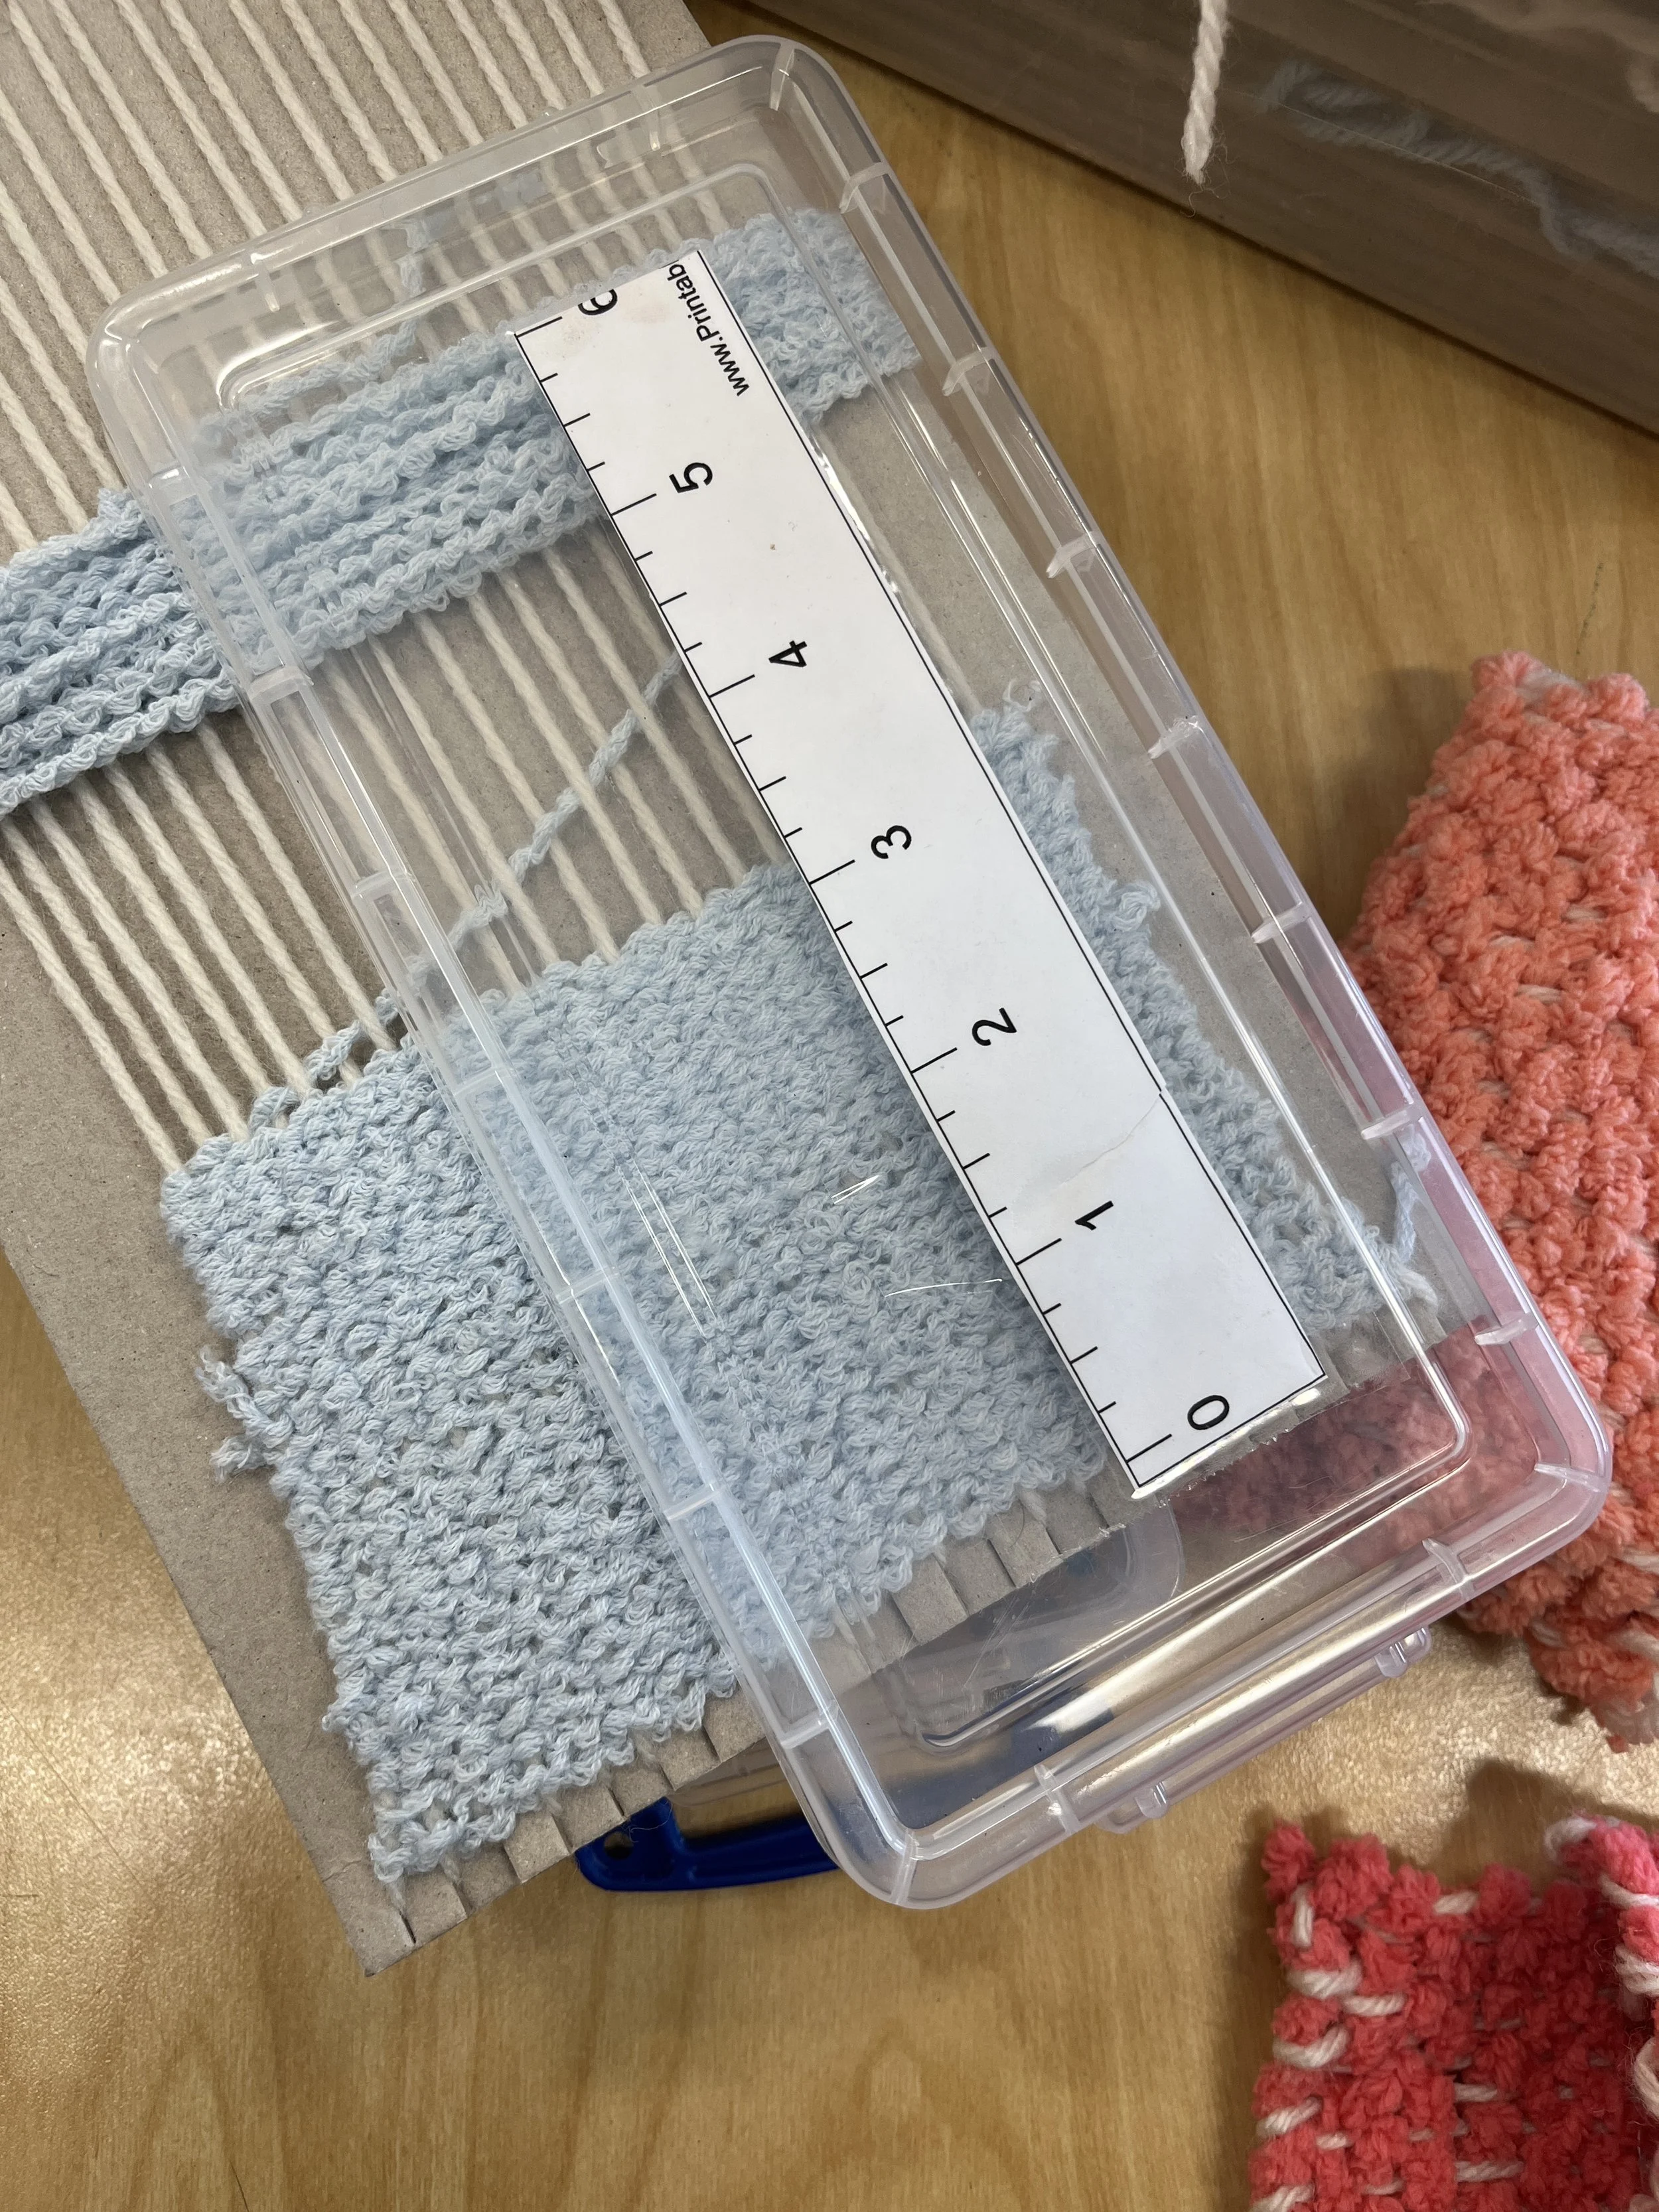
On the lid of my weaving tool kits, I tape a printed paper ruler. I ask students to measure their projects each week so they can track their progress. Students who are really motivated to make an entire pouch will often measure zealously.
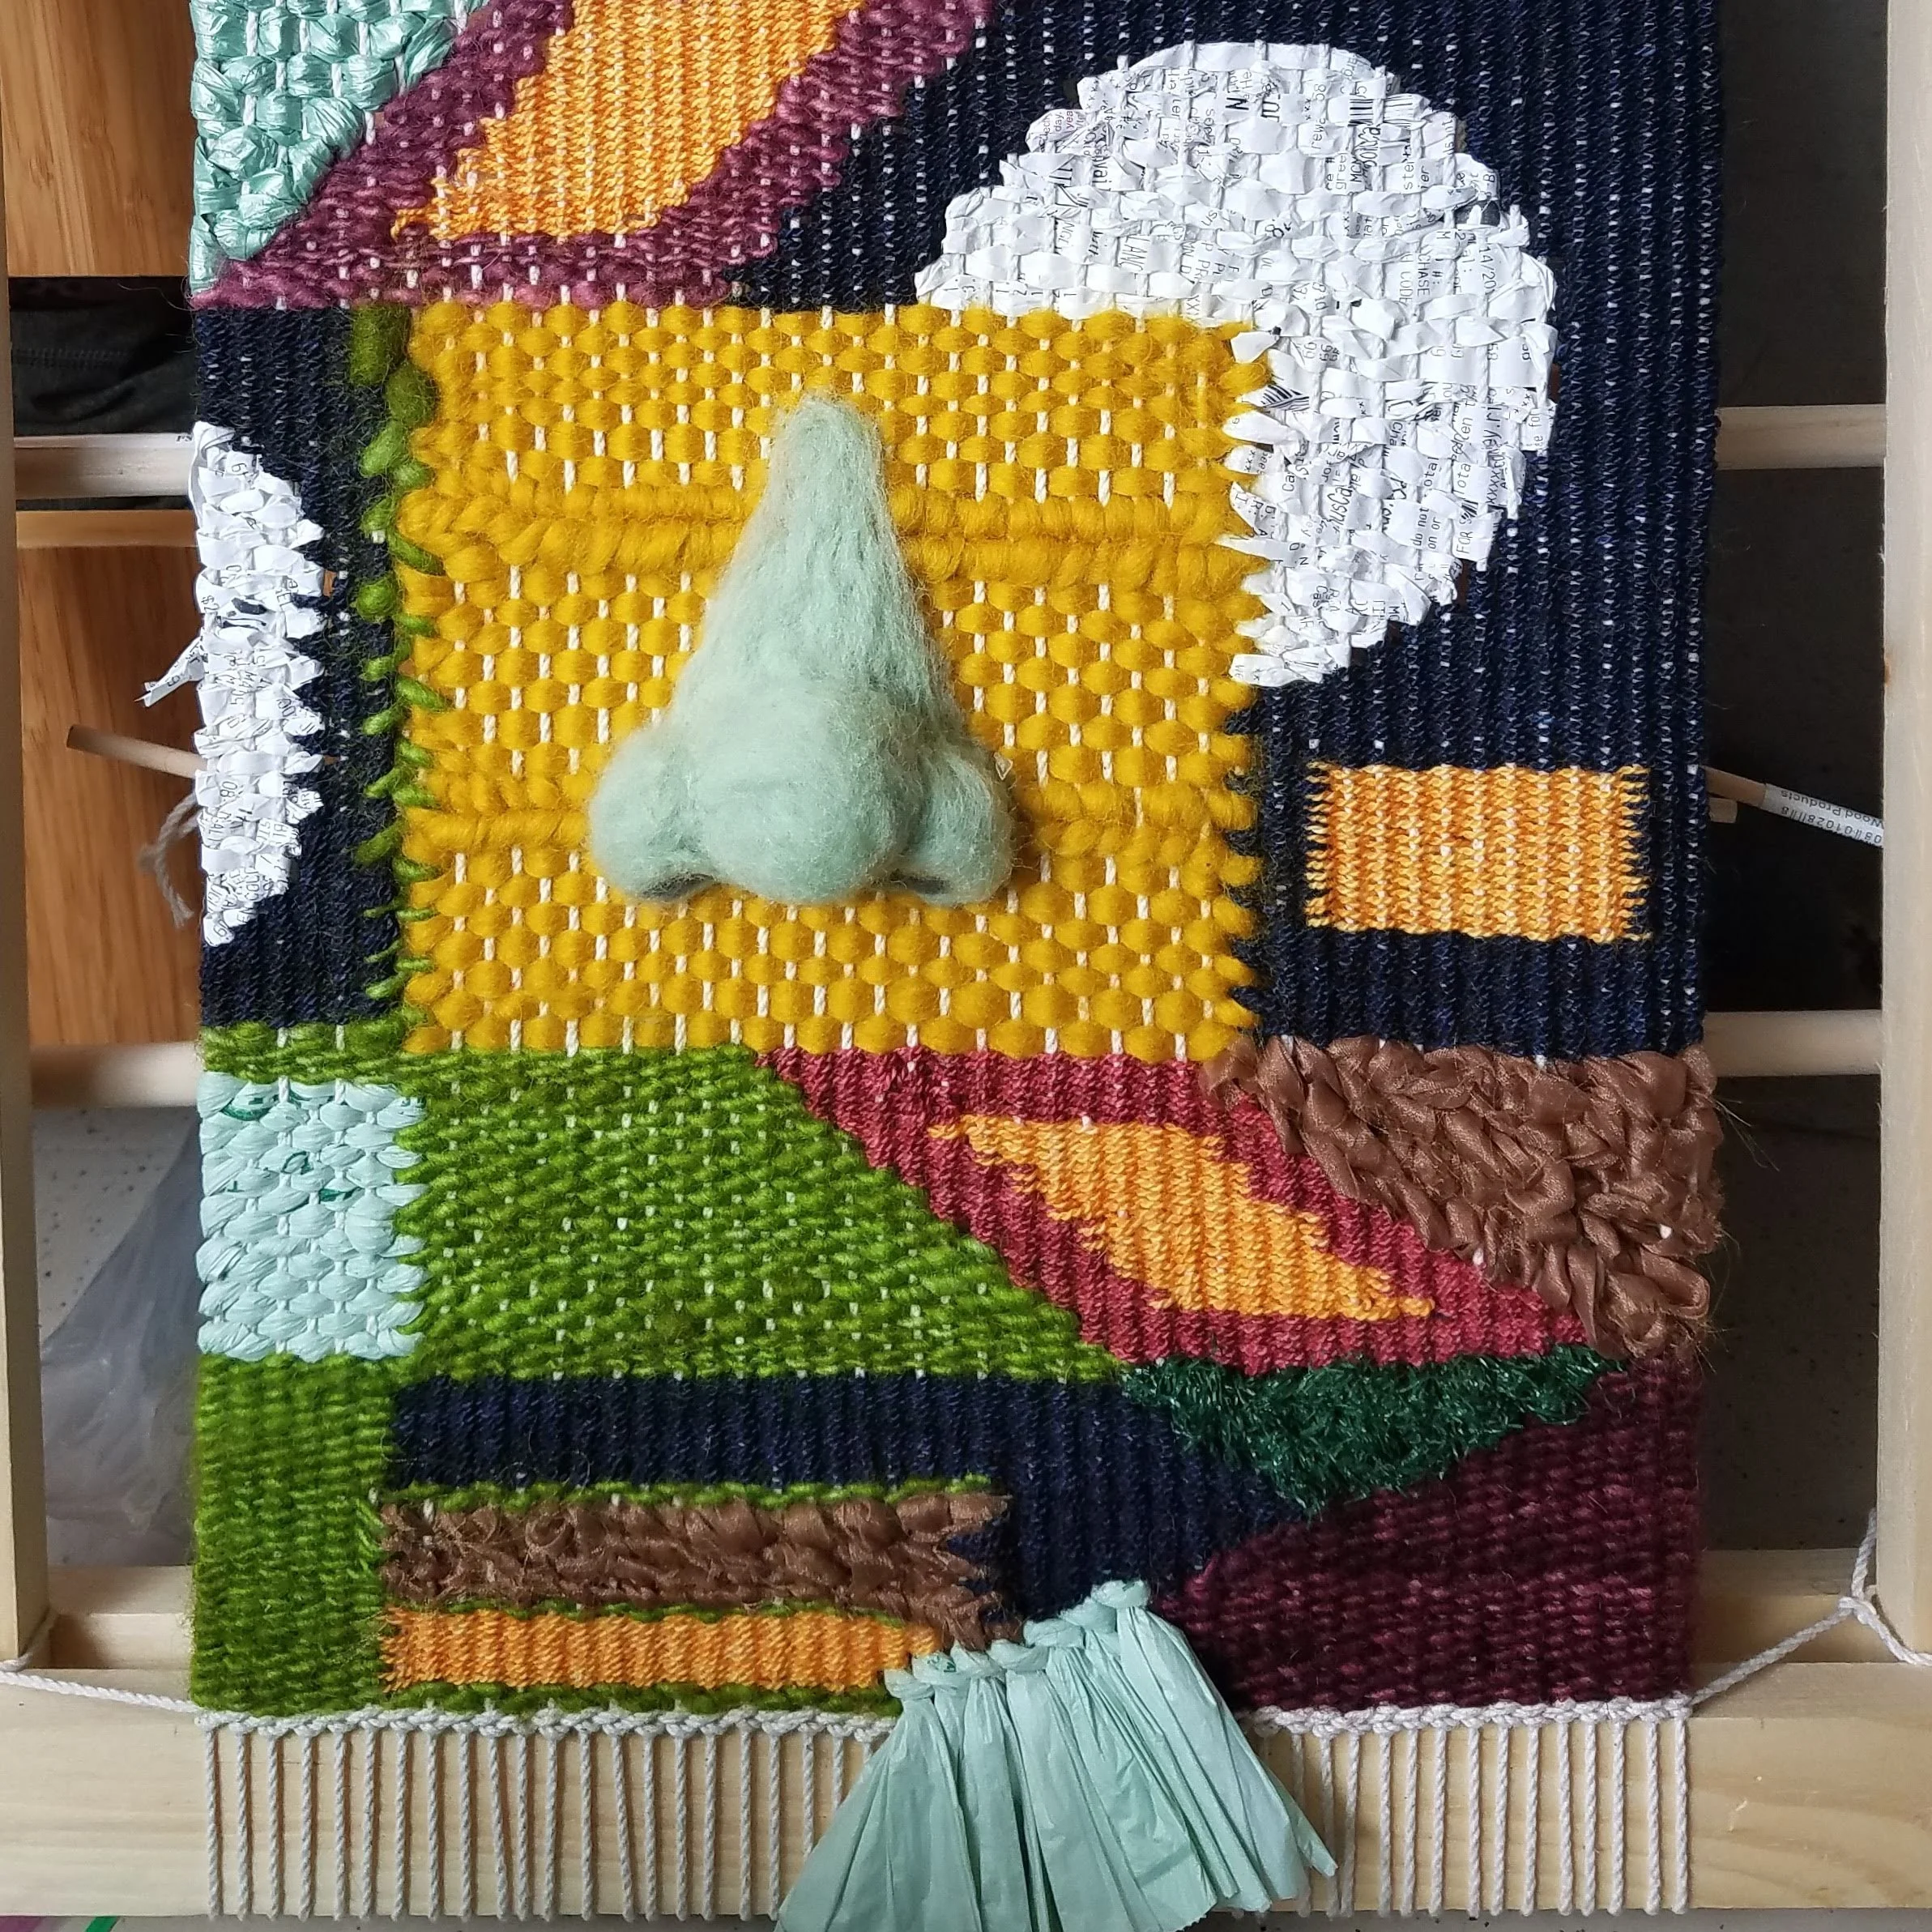
My very first tapestry weaving my freshman year in art school! I hand-dyed the yarn, wove in random materials from the grocery store, and needle felted a nose sniffing around for just right the produce.
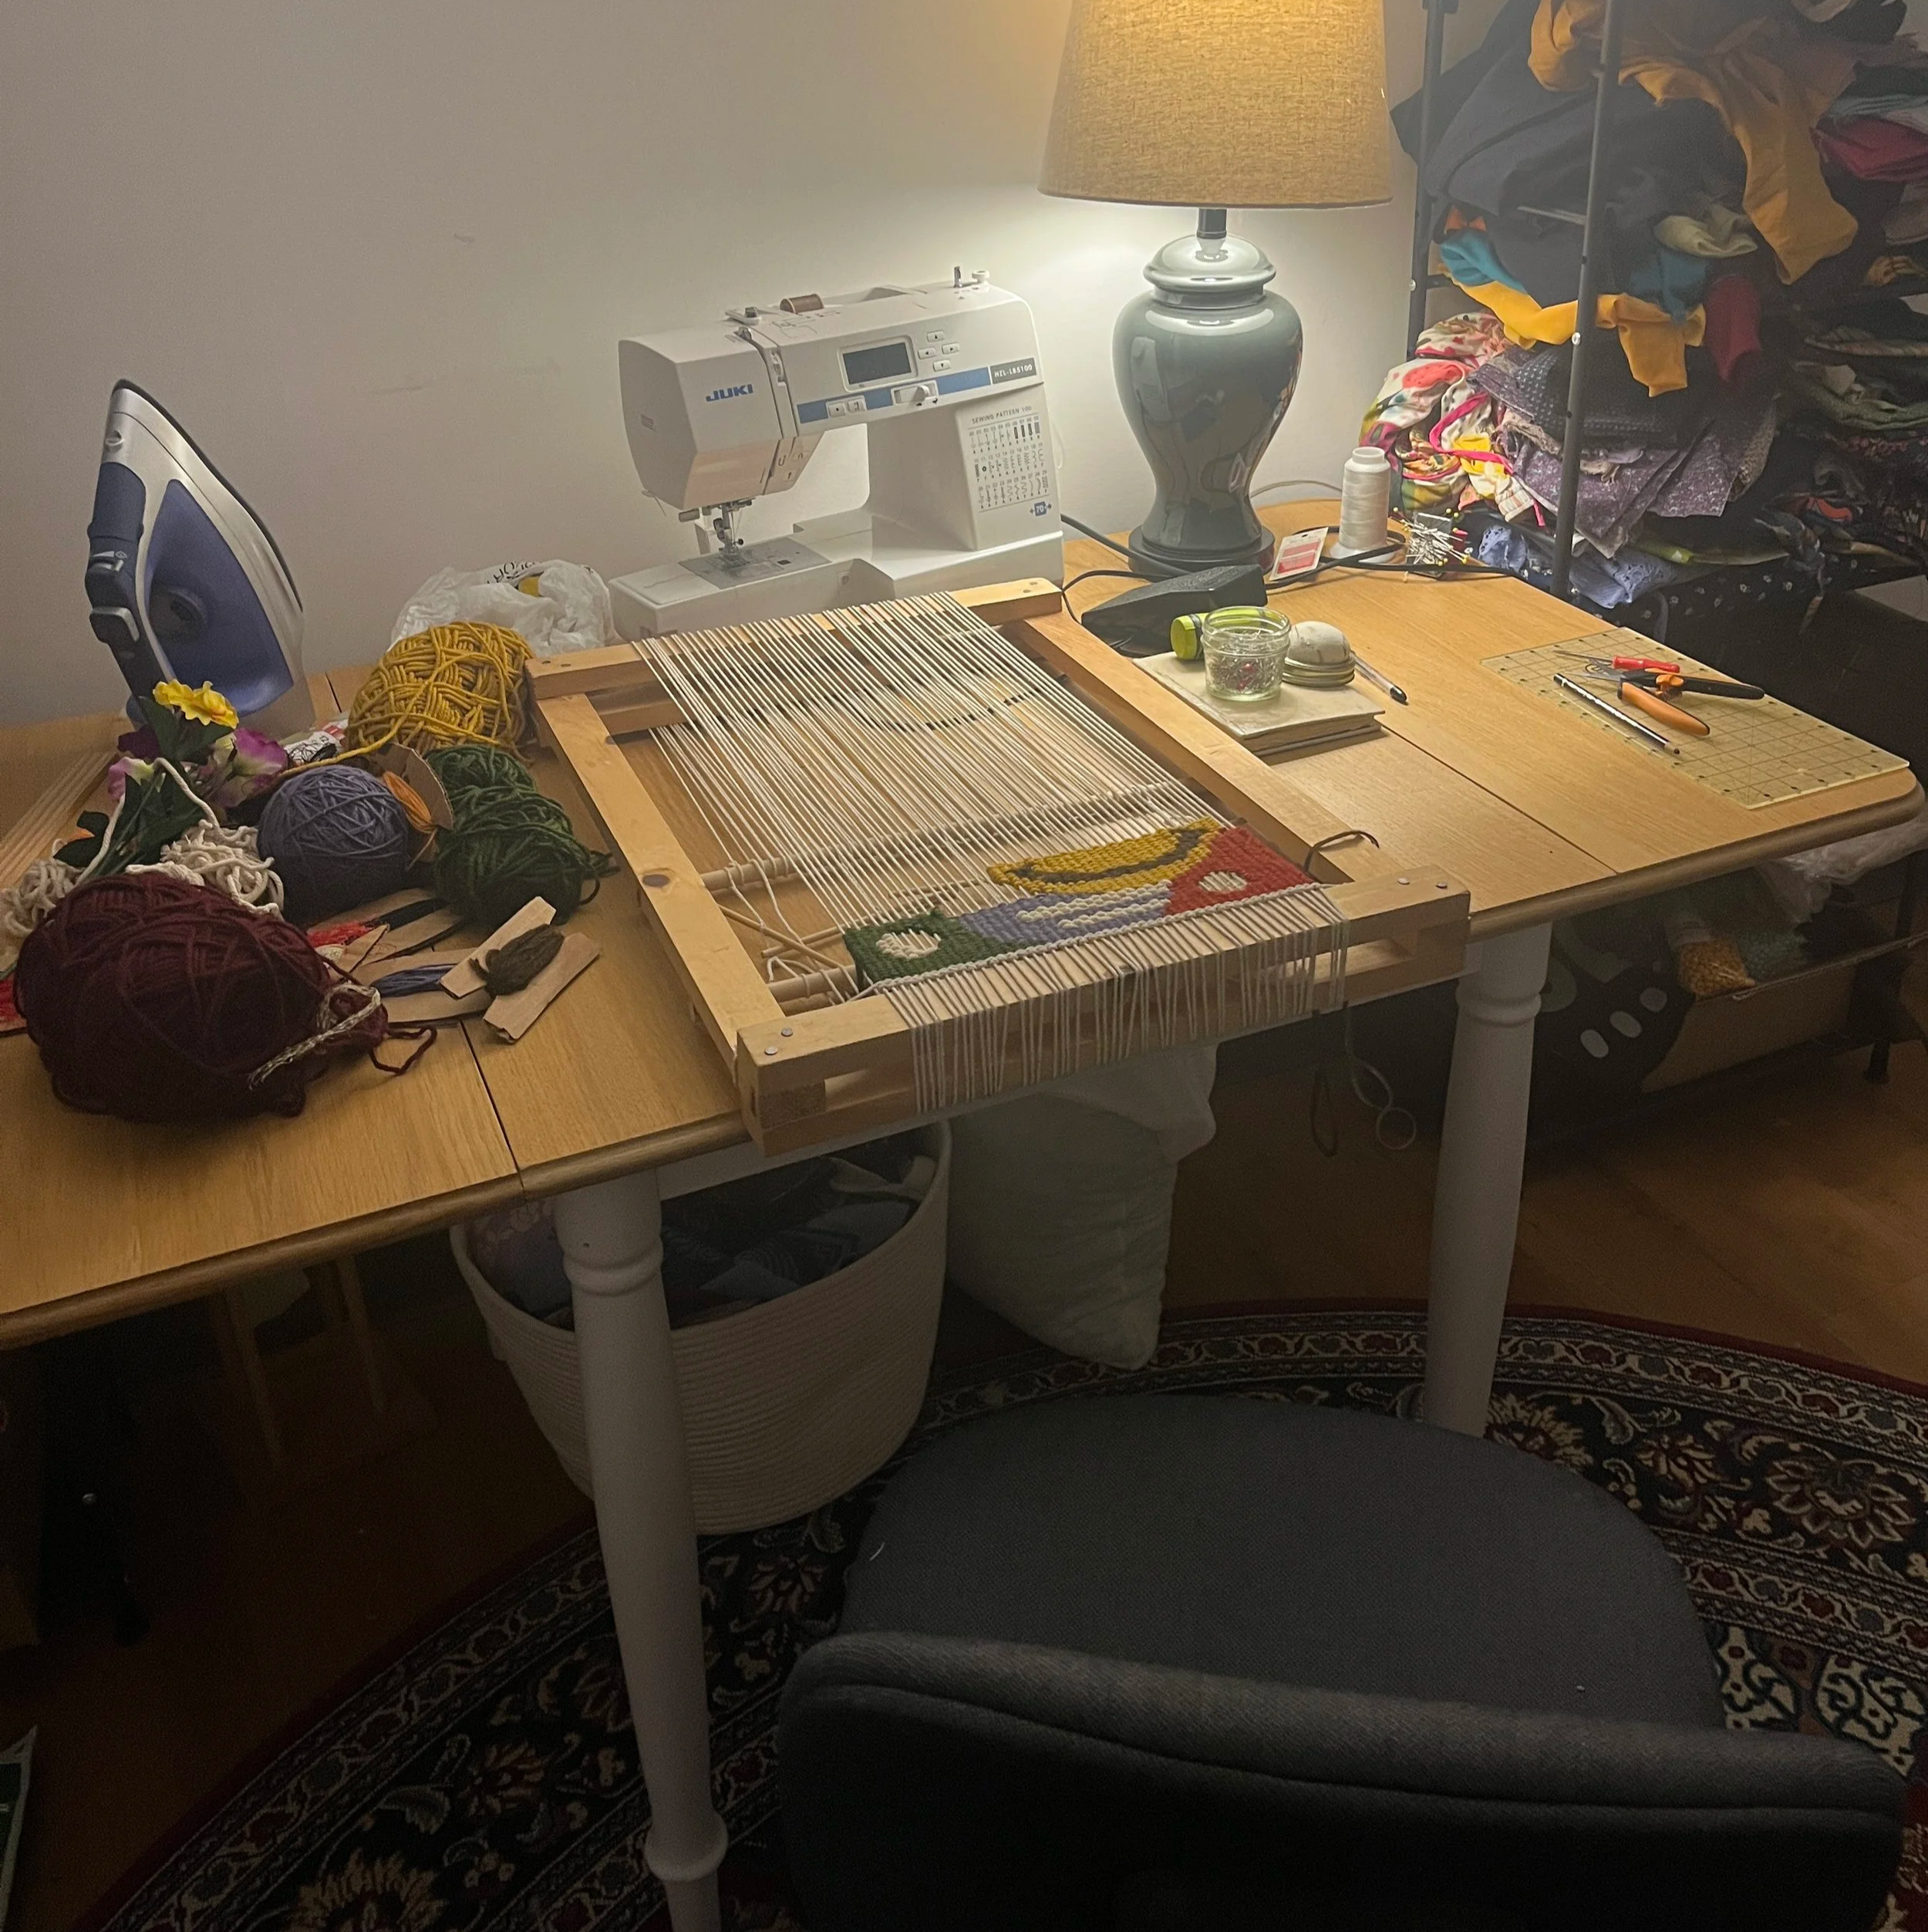
I still keep that tapestry loom I built in art school in my studio. Sometimes the simplest tools remain the best ones.
Lastly, I wanted to cover some common weaving challenges you’ll see with new weavers:
cutting the thread too long — remind students over and over to cut no more than an arm’s length.
yarn management— some teachers use baskets with holes and lace the end of the yarn ball through the holes; I find this too cumbersome and have students keep every skein of yarn in its own Ziplock bag to avoid tangling.
forgetting to weave the next row in the opposite direction — in our mantra I use hand gestures to show that we weave right to left, then left to right.